 how-to
New Roof Installation: A Step-by-Step Guide
Table of Contents
- What to Expect Before New Roof Installation Begins
- Roof Replacement Preparation: Getting Your Home Ready
- Roof Installation Steps: The Complete Process
- How Long Does Roof Replacement Take?
- Understanding Roof Installation Cost and Pricing Factors
- Permits, Building Codes, and Roof Inspections
- Safety, Weather Delays, and Project Contingencies
- Final Walkthrough and Quality Assurance Checklist
- Frequently Asked Questions
Last Updated: October 17, 2026
What to Expect Before New Roof Installation Begins
A new roof installation is a major home project. It involves removing your old roof, inspecting the structure underneath, and installing new roofing materials. At LRI Restorations, we help homeowners understand every step so there are no surprises.
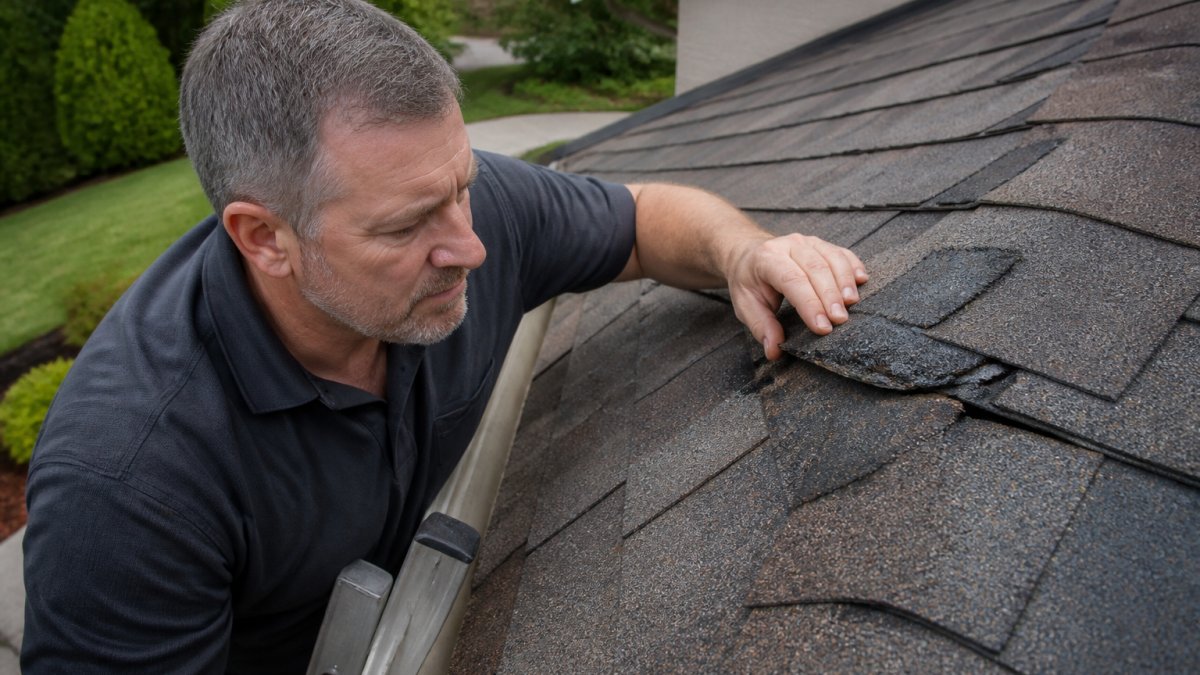
Before work starts, expect your contractor to visit and inspect your roof. They'll check for damage, measure the roof size, and discuss materials with you. This inspection typically takes one to two hours.
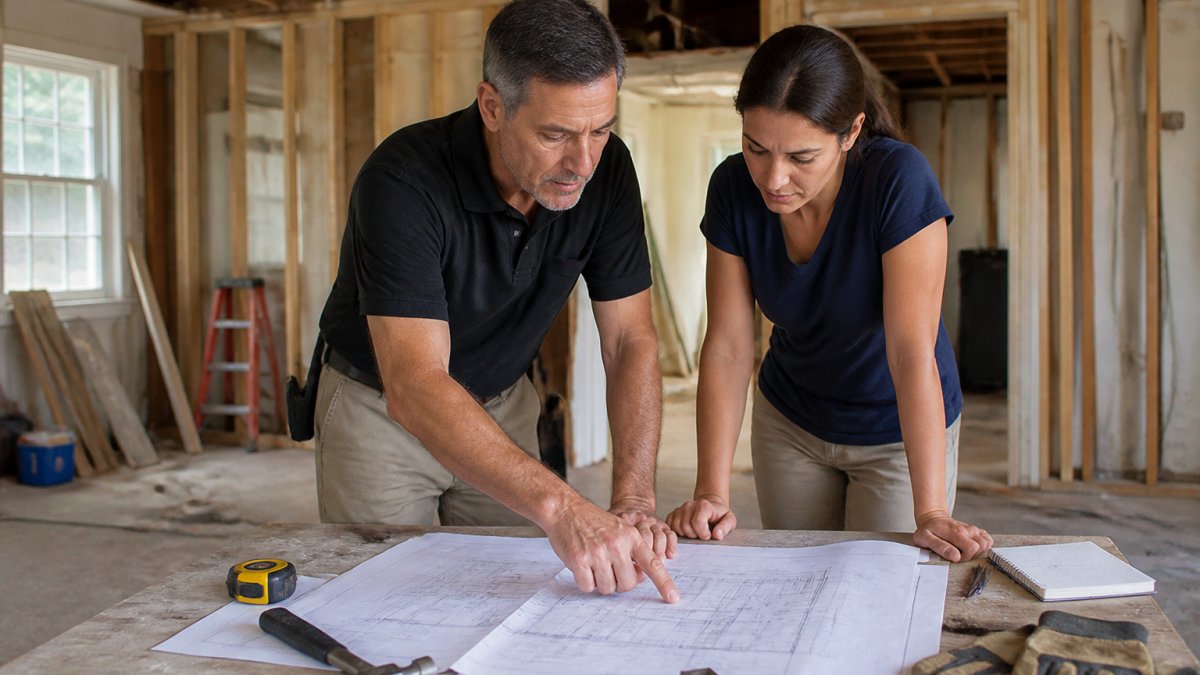
Your contractor will also explain the timeline. They'll discuss permits and inspections required in your area.
Ask your contractor about property protection. They should explain how they'll protect your landscaping, vehicles, and home during the project. Good contractors use tarps and barriers to contain debris.
Insurance claims can complicate timelines. If you're filing a claim, your contractor should walk you through the process. They'll help coordinate with adjusters and document damage.
Roof Replacement Preparation: Getting Your Home Ready
Preparing your home makes the installation smoother and safer. Start by clearing your attic of items stored near the roof. Contractors need unobstructed access to roof vents and interior spaces.
Move vehicles away from your driveway. Roofing trucks need space to park and unload materials. Ask your contractor how many vehicles they'll need and where they prefer to stage materials.
Protect your landscaping by identifying delicate plants near the house. Let your contractor know about flower beds, air conditioning units, or other features at ground level. They can place protective coverings.
Secure pets indoors during the project. Roofing noise and activity stress animals. Keep them in a quiet room away from windows and doors.
Inform your neighbors about the project. Roofing work is loud and creates debris. A heads-up prevents complaints and builds goodwill.
Clear gutters before installation begins. Debris in gutters prevents proper water drainage once the new roof is installed. Many contractors include gutter cleaning in their service.
Roof Installation Steps: The Complete Process
The actual new roof installation follows a predictable sequence. Understanding each step helps you know what's happening and when to expect disruptions.
Removing the Old Roof and Inspecting Decking
The first step in new roof installation is removing the old roof. Contractors tear off existing shingles, nails, and underlayment. This is called a tear-off. It creates significant noise and dust.
Crews work systematically, removing shingles in sections and tossing debris into dumpsters below. Proper debris containment prevents damage to landscaping.
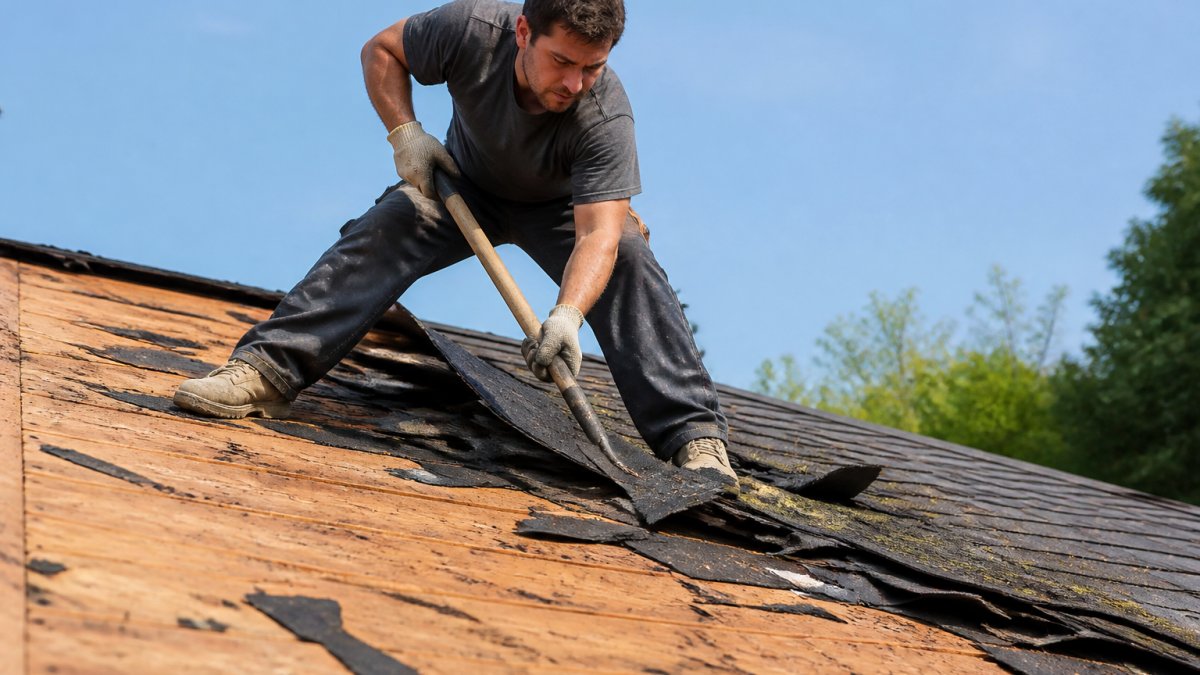
Once shingles are removed, inspectors examine the roof decking underneath. The decking is the wood structure supporting everything above. If decking is rotted or damaged, it must be replaced before new materials install.
Damaged decking is common in older homes or homes with previous leaks. Replacing decking adds time and cost to your project. Your contractor should show you any problem areas and explain repairs needed.
Installing Underlayment and Flashing
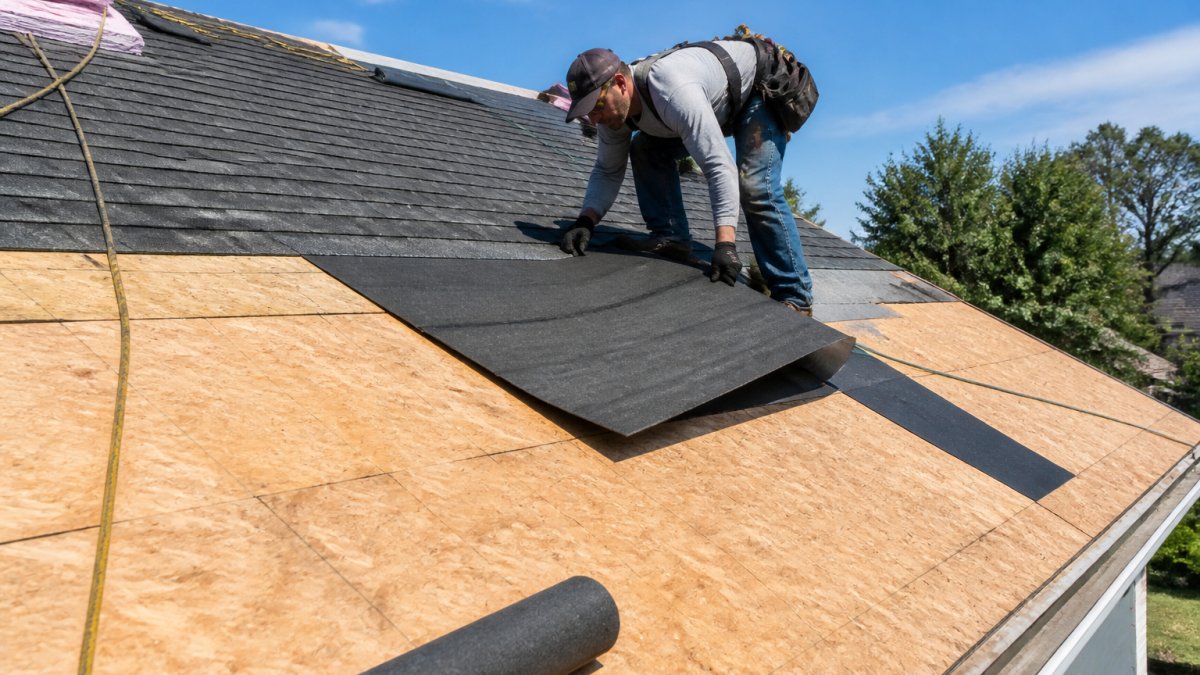
After decking inspection and repair, contractors install underlayment. Underlayment is a protective barrier between the decking and shingles. It prevents water from reaching the wood if shingles fail.
Modern underlayment materials are synthetic or felt-based. Synthetic underlayment lasts longer and resists tearing during installation. Your contractor will roll it across the entire roof surface and secure it with nails.
Flashing is metal trim that directs water away from vulnerable areas. Flashing installs around chimneys, vents, skylights, and roof edges. Proper flashing prevents leaks at these high-risk spots.
Flashing installation requires precision. Gaps or improper sealing cause water damage inside your home. Experienced contractors understand how flashing works with your specific roof design.
Laying Asphalt Shingles or Alternative Materials
Shingle installation begins at the roof's lowest edge. Contractors start with starter shingles, which are special shingles designed for the bottom edge. Starter shingles help water drain properly and prevent wind damage.
The first full row of shingles installs above the starter row. Roofers nail shingles in a specific pattern to ensure proper overlap and water shedding. Each shingle overlaps the one below it, creating a water-resistant surface.
Contractors work upward toward the ridge cap. The ridge cap is the peak running along the top of the roof. It requires special shingles and careful installation to seal properly.
Asphalt shingles are the most common roofing material. They're affordable, durable, and available in many colors. Alternative materials include metal roofing, standing seam metal roofs, and composite shingles. Each material has different installation requirements and durability.
How Long Does Roof Replacement Take?
The actual timeline depends on roof size, complexity, weather, and material choice.
Steep roofs take longer because they're harder and slower to work on.
Weather delays extend timelines. Rain stops work immediately. Wind above 10 mph makes roofing unsafe. Snow or ice requires postponement. If storms occur during your project, expect delays.
Material choice affects speed. Asphalt shingles install fastest. Metal roofing and standing seam metal roofs take longer because each panel requires precise fitting. Composite shingles fall somewhere in between.
Your contractor should provide a realistic timeline at the start. They'll account for weather patterns and their crew size. Ask about contingency days in case problems emerge during tear-off.
Understanding Roof Installation Cost and Pricing Factors
Roof installation cost varies widely based on multiple factors. Understanding what drives costs helps you compare contractor bids fairly.
Roof size is the primary cost driver. Contractors measure roofs in squares. One square equals 100 square feet. A 30-square roof costs more than a 20-square roof simply because of material and labor volume.
Material choice significantly impacts cost. Asphalt shingles are a common option. Metal roofing and standing seam metal roofs are also available. Composite shingles fall in the middle price range.
Labor costs depend on roof complexity. Simple, flat roofs cost less than steep roofs with multiple peaks. Roofs with many vents, skylights, and chimneys require more labor time.
Local market conditions affect pricing. Labor costs vary by region. Material availability and local competition influence final prices. Get multiple quotes to understand your local market.
Permits and inspections add cost. Most areas require building permits for new roof installation. Permit fees vary by jurisdiction. Inspections ensure the work meets building codes.
At LRI Restorations, we provide transparent cost estimates before starting work. We break down material costs, labor costs, and permit fees separately so you understand where your money goes.
| Cost Factor | Impact | Notes |
|---|---|---|
| Roof size | High | Measured in squares (100 sq ft each) |
| Material type | High | Asphalt lowest, metal highest |
| Roof complexity | Medium | Peaks, valleys, vents increase cost |
| Labor rates | Medium | Varies by region and contractor |
| Permits | Low | Required in most areas |
| Inspections | Low | Ensures code compliance |
Permits, Building Codes, and Roof Inspections
Most jurisdictions require building permits for new roof installation. Permits ensure work meets local building codes. Building codes protect your home's safety and resale value.
Your contractor should handle permit applications. They understand local requirements and can complete paperwork correctly. Permit costs are typically discussed during your estimate.
Building codes specify roofing standards for your area. They address roof slope, ventilation, fastening methods, and material types. Codes vary by region and climate zone. Florida's codes are designed to address hurricane risk.
Inspections verify compliance with building codes. Most jurisdictions require a final inspection after installation. Inspectors check shingle installation, flashing, vents, and overall workmanship. Passing inspection is required before you can claim the roof is complete.
Insurance companies may also inspect your roof. If you filed a claim, your insurer might send an adjuster to verify the work meets their requirements. Insurance inspections protect both you and your insurer.
Ask your contractor about inspection scheduling. They should coordinate with local building departments. Delays in scheduling inspections can extend your project timeline.
Safety, Weather Delays, and Project Contingencies
Roofing is dangerous work. Contractors work at heights on sloped surfaces. Professional roofers use safety equipment including harnesses, fall protection, and hard hats. Never attempt roofing work yourself.
Weather significantly impacts roofing timelines. Rain stops work immediately because wet surfaces are slippery. Wind above 10 mph makes roofing unsafe. Contractors will not work in dangerous conditions.
Temperature extremes affect materials. Asphalt shingles become brittle in cold weather and soft in extreme heat. Contractors time installations to avoid these conditions. Extreme weather may require rescheduling.
Your contractor should discuss contingency plans. What happens if weather delays the project? Will they reschedule? Will you receive a revised timeline? Understanding contingencies prevents frustration if delays occur.
Homeowner access during installation requires planning. Contractors need clear pathways to work. They may need to block off areas for safety. Discuss access details before work begins.
Final Walkthrough and Quality Assurance Checklist
After installation completes, conduct a final walkthrough with your contractor. This inspection ensures all work meets your expectations and building codes.
Check shingle alignment. Shingles should be straight and properly aligned. Crooked or misaligned shingles indicate poor workmanship.
Inspect flashing around vents, chimneys, and skylights. Flashing should be sealed properly with no gaps. Poor flashing leads to leaks.
Examine the ridge cap. The ridge cap should be straight and properly sealed. Gaps at the ridge allow water infiltration.
Check for proper ventilation. Roof vents should be clear and functional. Proper ventilation prevents moisture buildup in your attic.
Verify debris removal. Your contractor should remove all old shingles, nails, and debris. The property should be clean when work finishes.
Ask about warranties. Your contractor should provide a workmanship warranty covering their labor. Material manufacturers provide separate warranties on shingles. Understand what each warranty covers and how long it lasts.
Get documentation of the completed work. Request photos of the finished roof. Request receipts for materials and permits. Keep these documents for insurance and resale purposes.
| Inspection Item | What to Check | Pass Criteria |
|---|---|---|
| Shingle alignment | Straight rows, no crooked shingles | All rows perfectly straight |
| Flashing seals | No gaps around vents, chimneys, skylights | Sealed with no visible gaps |
| Ridge cap | Straight, properly sealed | Aligned and sealed throughout |
| Ventilation | Vents clear and unobstructed | All vents functional |
| Debris removal | Property clean, no leftover materials | Zero debris remaining |
| Workmanship | Overall quality and attention to detail | Professional appearance |
A successful new roof installation protects your home for decades. The process requires planning, clear communication, and professional execution.
Frequently Asked Questions
What are the main steps in a new roof installation?
New roof installation involves removing the old roof and shingles, inspecting and repairing roof decking, installing underlayment and flashing, laying new asphalt shingles or roofing materials, installing ridge cap and roof vents, and performing a final inspection. Each step ensures proper drainage, ventilation, and protection from weather. Professional roofing contractors follow building codes and manufacturer specifications throughout the process to ensure your roofing system performs for decades.
How long does roof replacement take on average?
Most residential roof replacements depend on roof size, complexity, weather, and material type. Weather delays, damaged decking requiring repair, and multiple roof slopes can extend the timeline. Your contractor should provide a realistic project timeline upfront and communicate any delays caused by weather or unexpected structural issues discovered during tear-off.
What factors affect the cost of new roof installation?
Roof installation cost depends on roof square footage, material choice, labor costs, local permits and inspections, removal of old roofing, decking repair, underlayment quality, and regional pricing. Additional factors include roof slope, complexity, ventilation upgrades, and whether your insurance covers storm damage. Request a detailed cost estimate that breaks down material costs and labor costs separately so you understand exactly what you're paying for.
What preparation should I do before roof installation begins?
Before new roof installation, clear gutters, trim tree branches near the roof, move vehicles and outdoor items away from the work area, protect landscaping and gardens from debris, and ensure contractor access to the roof and property. Inform neighbors about the project timeline. If you have an attic or upper-floor rooms, close windows and doors to minimize dust and noise inside. Confirm parking arrangements for contractor vehicles and debris removal schedules with your roofing contractor beforehand.